
Last updated: November 12, 2026
Quick Answer: For framing and layout, a laser level is used as a fixed reference to mark floor, wall, and ceiling lines, and the most useful setup is usually a cross-line laser for interior rooms. A crooked wall starts with a crooked layout, and a laser level keeps framing lines, stud marks, and plate positions on the same plane.
This guide to How to use a laser level for framing and layout shows how to set your reference, mark the floor and ceiling, and square the layout before the first stud goes up.
Key Takeaways
- Use the laser as your fixed reference, then mark from that line with a framing square.
- Start with the bottom plate, then transfer the same layout to the top plate and ceiling line.
- Check square before you commit to nails or screws.
- A laser level helps most on long walls, room remodels, and ceiling tracks.
- It does not replace careful measuring, especially at corners, openings, and out-of-square rooms.
How do you set up a laser level for framing layout?
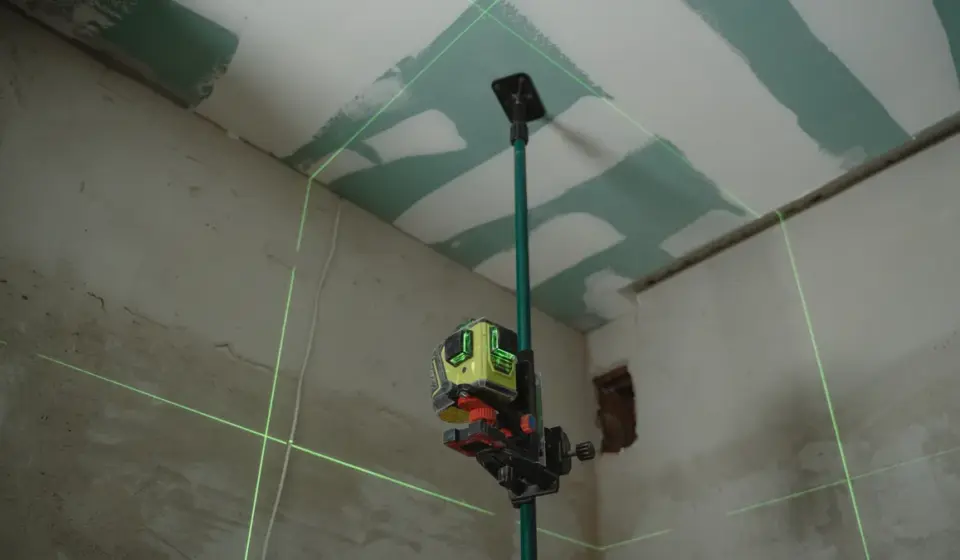
You set the laser on a stable point, level it, and aim it so the beam crosses the floor, wall, and ceiling where you need your framing reference. That line is the one you build from, not the line you guess at.
Picture this: you’re standing in an empty room with a tape measure, a framing square, and a stud pack on the floor. You want the bottom plate and top plate to land in the same place, without drift over 12 feet or a bowed wall. That starts with one level reference.
- Set the laser level on a tripod, tripod adapter, or solid flat surface where the beam can reach the layout area.
- Turn on the laser level and let it self-level, or level it manually if that model requires it.
- Aim the laser level so the beam hits the floor, wall, and ceiling where your framed wall will run.
- Mark the beam lightly with pencil at the floor and ceiling so you keep the layout even if the beam gets blocked.
- Confirm the reference with a tape measure from a fixed wall or finished edge so the line lands where the plan says it should.
A cross-line laser is usually the easiest fit for framing layout because it gives you a horizontal line and a vertical line at once. A rotary laser also works for larger spaces, but it is more tool than a small room needs. For most wall layouts, the simpler beam wins.
The truth is, the laser does not do the layout for you. It only gives you a dead-straight reference.
How do you mark framing lines with a laser level?
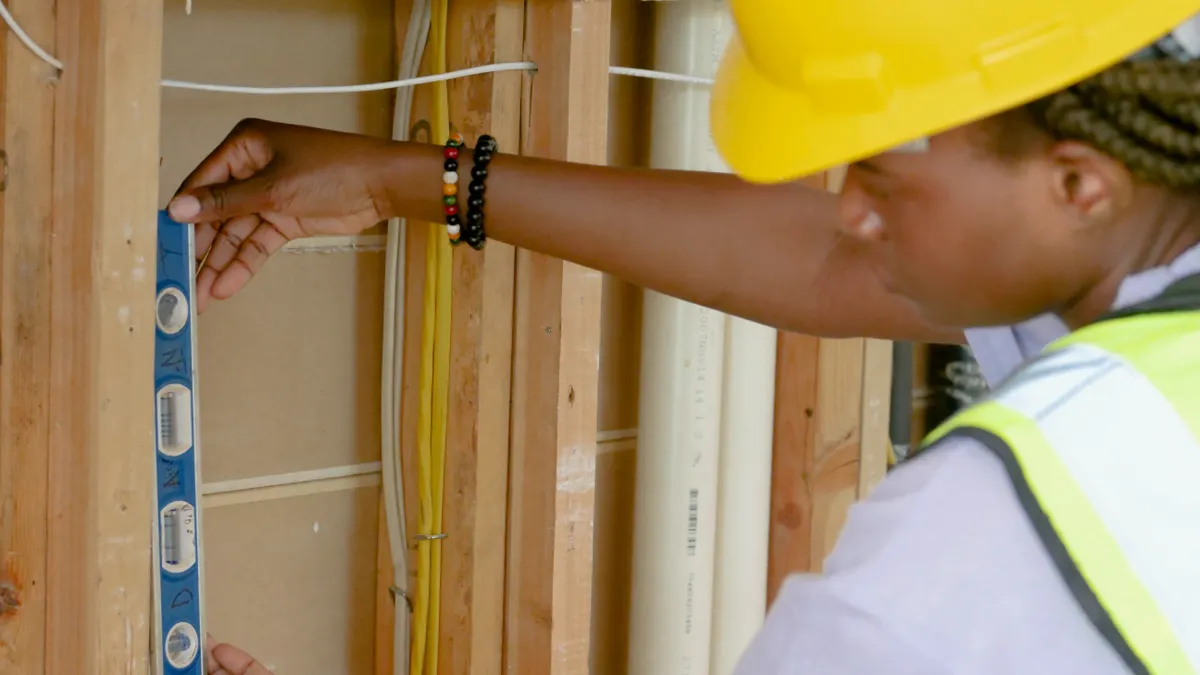
You mark the floor first, then carry that mark to the plates and studs with a framing square and tape. That order keeps the wall straight even when the room is not.
Picture this: you’re laying out a new wall on a slab or subfloor. The beam is on, the room is empty, and you need the wall to land square to the rest of the space. This is where floor marks, plate marks, and stud marks have to agree.
Use this core sequence:
- Mark the floor where the laser beam crosses your wall line.
- Snap or extend the floor mark along the full wall run if the beam only reaches part of it.
- Place the bottom plate on the floor line and hold it tight against the marks.
- Transfer the line to the top plate by marking directly off the bottom plate with a framing square.
- Mark stud locations on both plates, using the same layout dimensions for each stud bay.
- Check both ends against the laser again before fastening anything.
A standard stud layout is often centered on 16-inch or 24-inch spacing, depending on the wall design and local practice. Whatever spacing the plan calls for, keep every mark referenced from the same starting point so the stud pattern does not drift.
Here’s the catch: the beam is not a replacement for the tape. It gives you alignment, but the tape gives you spacing. If the first mark is off by even a little, every stud down the wall will follow that error.
On the flip side, a laser makes repeat marks easier to trust across a long run. That matters when the wall crosses a doorway, chase, or pipe soffit.
How do you square a wall layout before framing?
You square a wall layout by pairing the laser line with a framing square and checking the relationship between the wall line and the intersecting layout marks. The laser keeps the run straight; the square keeps the corner true.
Picture this: you’ve marked a wall on the floor, but the room is not a perfect box. One corner is tight, one wall bows, and the new partition has to meet another wall cleanly. A framing square is the tool that keeps the wall from “walking” out of square as the layout gets longer.
Use the square like this:
- Set the first stud mark from the same end every time.
- Place the framing square on the bottom plate at that mark.
- Carry the mark across the plate width so the stud lands in the same position on both plates.
- Check the corner where the wall meets another wall or opening.
- Adjust the layout if the diagonal or corner position does not match the plan.
A square reference matters most at the first corner, the first opening, and any return wall. Once those points are true, the rest of the layout is much easier to keep consistent.
A common mistake is trusting the laser alone for square. That works for straightness, but not for geometry. A room can be straight and still be out of square.
If the wall will carry a door, the rough opening needs extra care. Lay out the king stud and jack stud positions from the same reference line so the opening does not end up too tight for the frame.
How do you use a laser level for top plate and bottom plate alignment?
You use the laser to keep the top plate directly over the bottom plate so the wall stays plumb and the stud ends line up. That alignment matters more than it looks, because a plate that wanders even a small amount can throw off drywall, trim, and ceiling tie-in.
Picture this: you’ve set the bottom plate on the floor line and now you need the top plate to land over it on a ceiling line or overhead mark. If the room is open above, a laser beam lets you transfer the same layout without guessing from one end of the wall to the other.
Do this step by step:
- Mark the bottom plate from the floor layout, including the first stud, end stud, and openings.
- Project the laser line up to the ceiling or upper framing where the top plate will sit.
- Mark the ceiling line at the same points used on the bottom plate.
- Hold the top plate against those ceiling marks before fastening.
- Check plumb by comparing the top plate and bottom plate positions at both ends of the wall.
- Re-mark any drift before the wall is fully fastened.
This is where a laser level saves time on taller walls and long runs. It reduces the back-and-forth of measuring from the floor to the ceiling more than once. That said, the wall still needs a physical check with a level or plumb rule at the ends.
A top plate that follows the bottom plate is easier to sheath, easier to drywall, and easier to square into the room. A wall that twists at the plates is a wall that fights you later.
The laser can make the relationship between floor and ceiling visible before you commit to the frame.
What mistakes throw off framing layout?
The biggest mistakes are starting from the wrong reference, skipping a square check, and marking off a beam that is too hard to see or too far from the work. Each one costs time, and the fix is simple if you catch it early.
Picture this: you’ve already marked half the wall, and one stud bay looks off by an inch. You trace it back and find the first mark was taken from a crooked edge instead of the laser reference. That one wrong start makes the whole run suspect.
- Wrong starting point. If you begin from a bowed wall or unfinished edge, the layout inherits that error.
- No square check. A wall can be straight and still miss the corner.
- Too much beam trust. The laser line is a guide, not a final measurement.
- Hidden marks. Pencil marks that disappear under plates, sawdust, or foot traffic lead to bad resets.
- Ignoring openings. Doors, corners, and returns need extra layout checks, not less.
A good habit is to mark both the beam and the measurement. If the beam gets bumped or blocked, the pencil still tells you where the wall belongs.
On the other hand, over-marking can crowd the plate and make the layout harder to read. Keep the marks small and specific: stud center, opening edge, and end reference. That is enough.
Which framing jobs benefit most from a laser level?
A laser level helps most on long straight runs, room partitions, ceiling lines, and any framing job where one reference has to carry across a space. It is less helpful for tiny repairs where a tape and square are faster.
Picture this: you’re building a new partition in a basement, trimming out a room, or lining up a ceiling soffit. The room is wide enough that a chalk line gets awkward, and you need the same line on the floor and ceiling. That is where layout geometry gets easier with a beam.
The best uses are:
- Stud layout on a long wall.
- Plate alignment from floor to ceiling.
- Square reference at corners and openings.
- Ceiling lines for wall tops or bulkheads.
- Floor marks when the wall starts on an uneven slab or subfloor.
A laser is not the tool for every framing task. If you only need one short mark, a tape and square may be quicker. If the room is large, the wall is long, or the layout has to stay true across multiple surfaces, the laser earns its keep.
This page sits in the larger guide to laserlevelsfordiy.com the complete guide, but this section is the one that matters for framing: keep the wall geometry honest from the first mark to the last stud.
FAQ
Can a laser level replace a chalk line for framing?
A laser level can replace a chalk line for some framing layout, but not for every step. It works well when you need a visible reference across floor, wall, and ceiling without snapping a line. A chalk line is still useful when you want a fast, permanent mark on a long floor run.
How do you mark framing lines with a laser level?
You mark the beam where it hits the floor, then transfer that mark to the bottom plate and top plate with a tape measure and framing square. Keep the first mark as your main reference and repeat the same spacing for every stud bay. That keeps the layout consistent from end to end.
What is the right laser line for layout work?
The right laser line for layout work is the one that gives you a clear horizontal reference and, if needed, a vertical cross line for squaring. A cross-line laser is usually the simplest choice for framing and layout inside a room. For larger spaces, a rotary laser can cover more distance, but it is not always necessary.
Drafted with AI; not yet reviewed by a person.

[…] laser level that fits trim work can be a bad pick for a deck, fence, or tiled […]